Waterton didn’t just build a wall to protect the birds he loved, he also tried to provide suitable habitats for them. He turned his mind to planting:
“I am very partial to the holly, the yew and the ivy. They give both food and shelter to the birds, whilst their charming green foliage makes us almost forget that winter has set in.”
So, ivy was part of his plan.
The relationship between ivy and the wall, however, is complicated. A wall in good condition can be insulated from frost damage by a covering of ivy. However, once the ivy finds cracks and fissures it quickly penetrates the structure causing extensive and invasive damage. There is something akin to coersive control here – a smothering protection descending insidiously into a deep undermining of structural integrity.
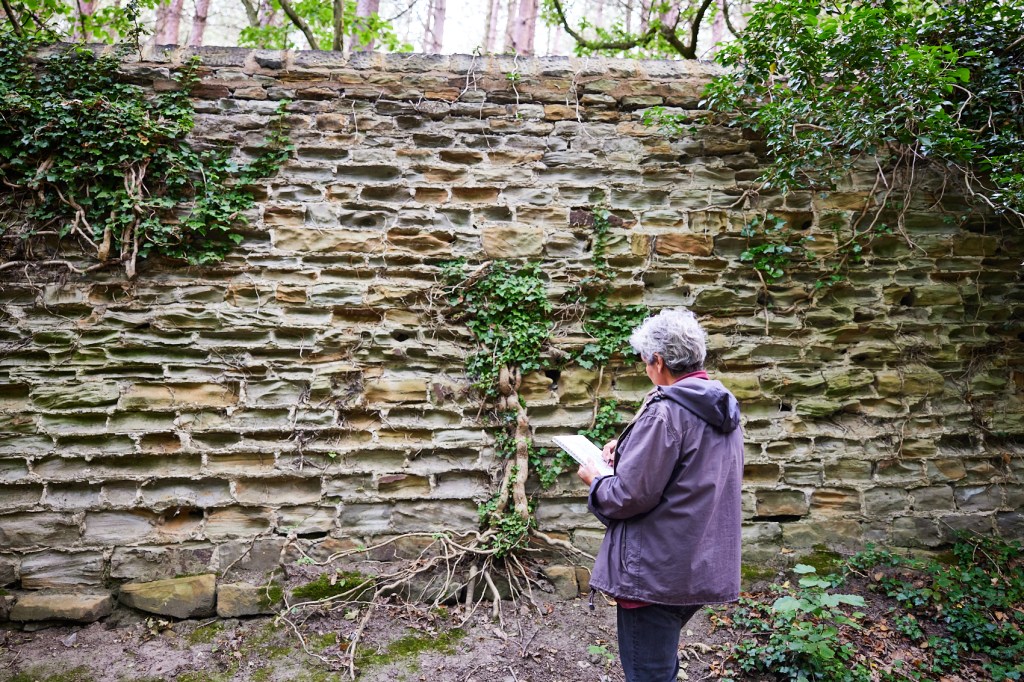
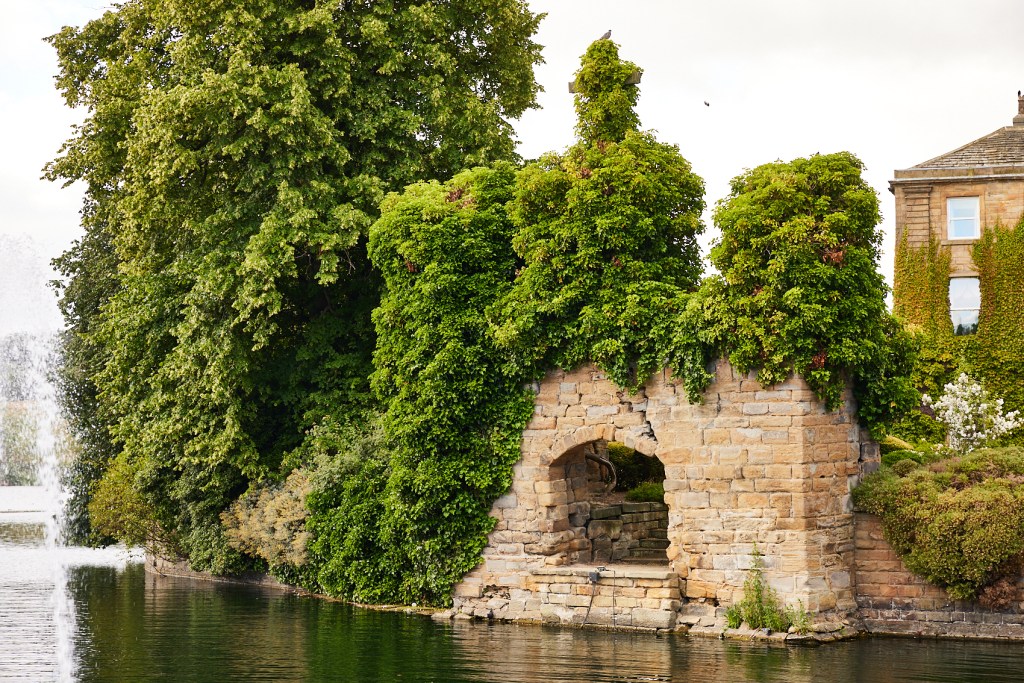
The section of the wall on which this piece is based, near Haw Wood, shows signs of heavy decay of the stone and the mortar is prominent. The blocks are smaller here than in other sections and I wonder if they were of poorer quality. Waterton had the wall built in sections over a number of years and the stone used reflected what he could afford and source at the time.
If you touch the stone gently in some places here it crumbles alarmingly into dust.
I wanted to highlight the damage to the stone so I removed it completely from my piece – there would just be the mortar and the ivy.

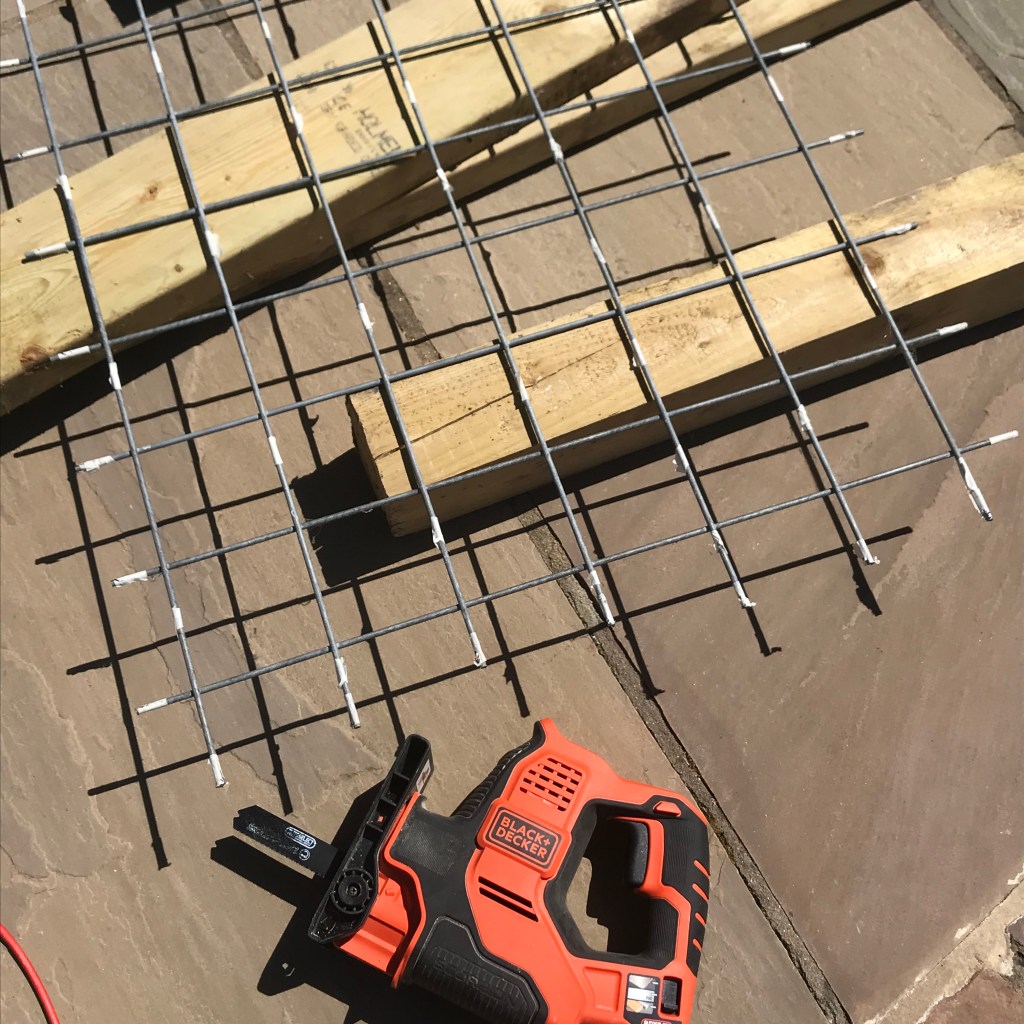
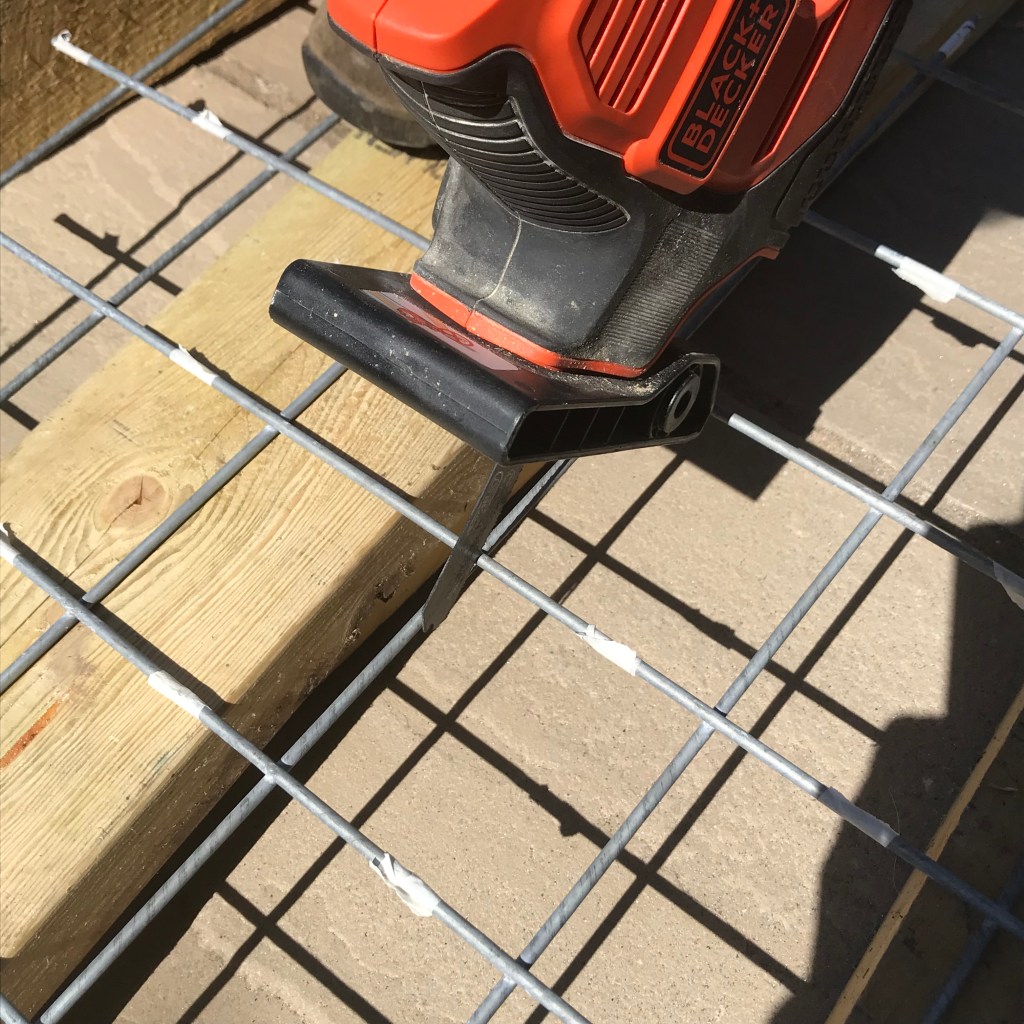
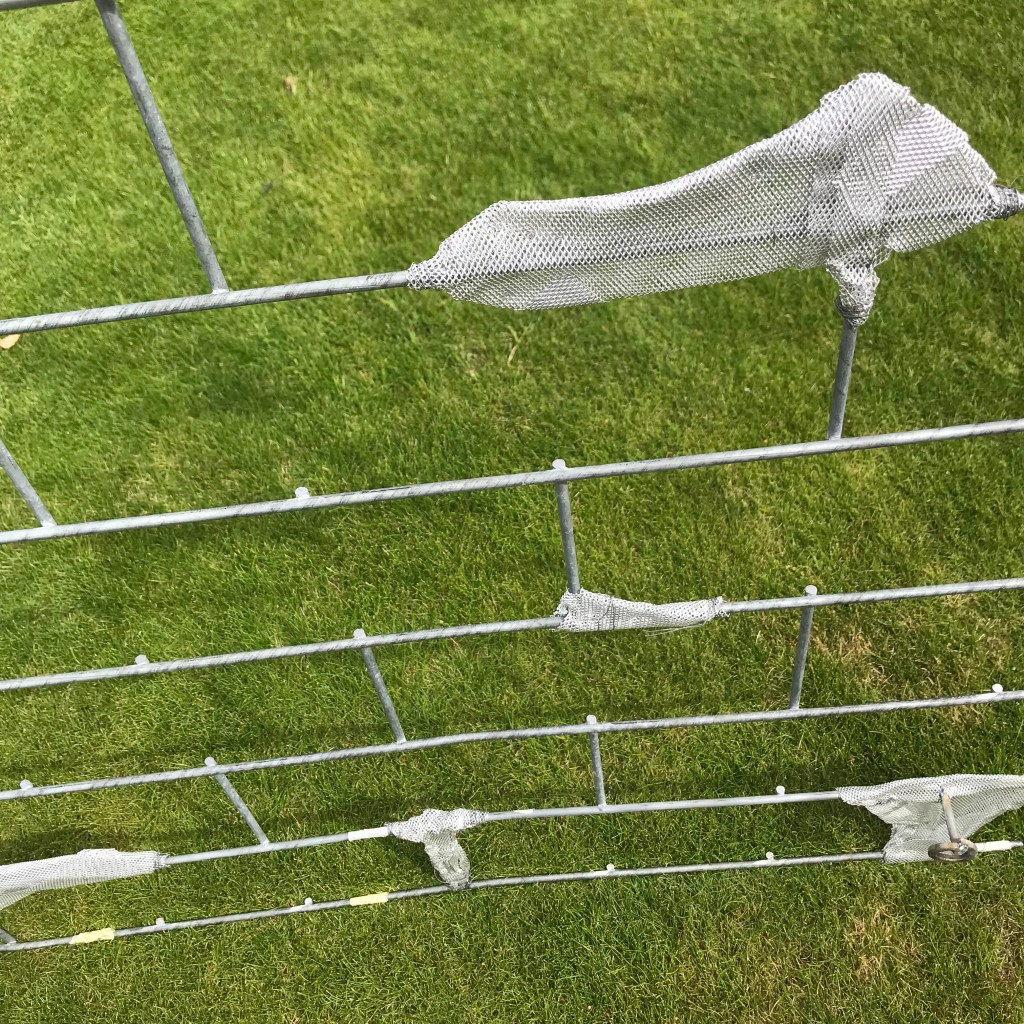
The background frame is a metal grid coated in lime mortar. Making this was hugely time consuming.
I started with a standard metal grid, then removed some of the rods to make the staggered pattern of the courses of stone and then started to build up some areas with aluminium mesh.
Before going any further I needed to address the problem of fixings – finding something strong enough to allow me to hang the work eventually.
A trip to Adam Lumb of Ossett Fabrications was a glimpse into the world of someone who spends everyday creating solutions in metal. My wall panel looked tiny on his huge workbench. Adam quickly worked out what was needed.


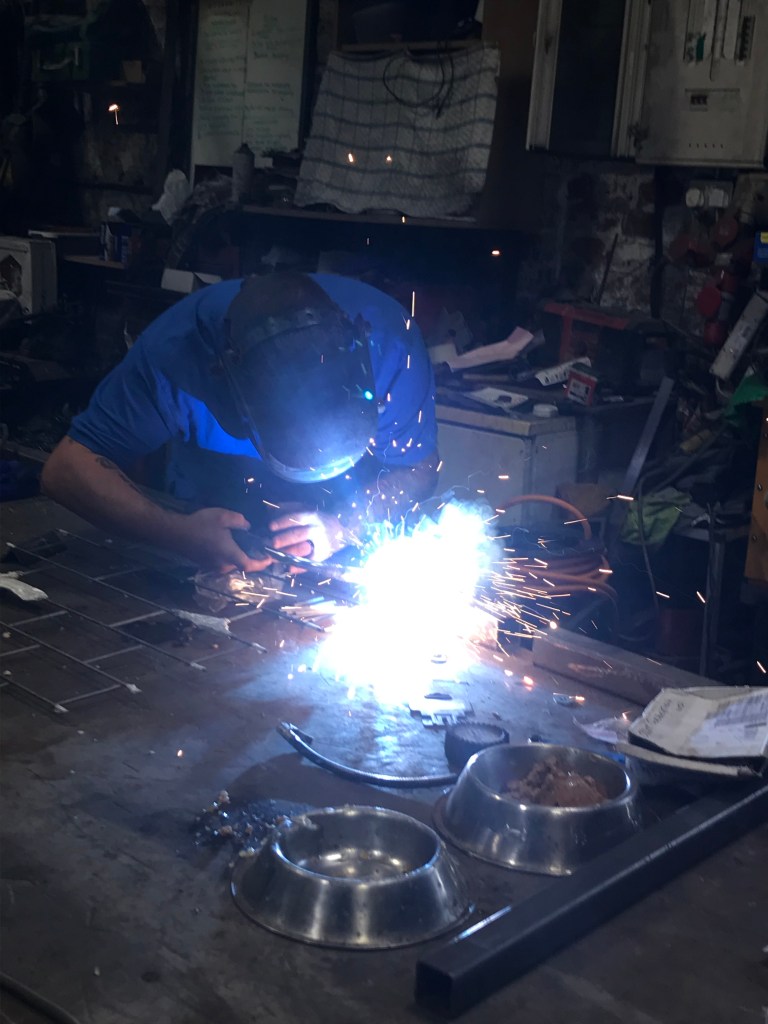
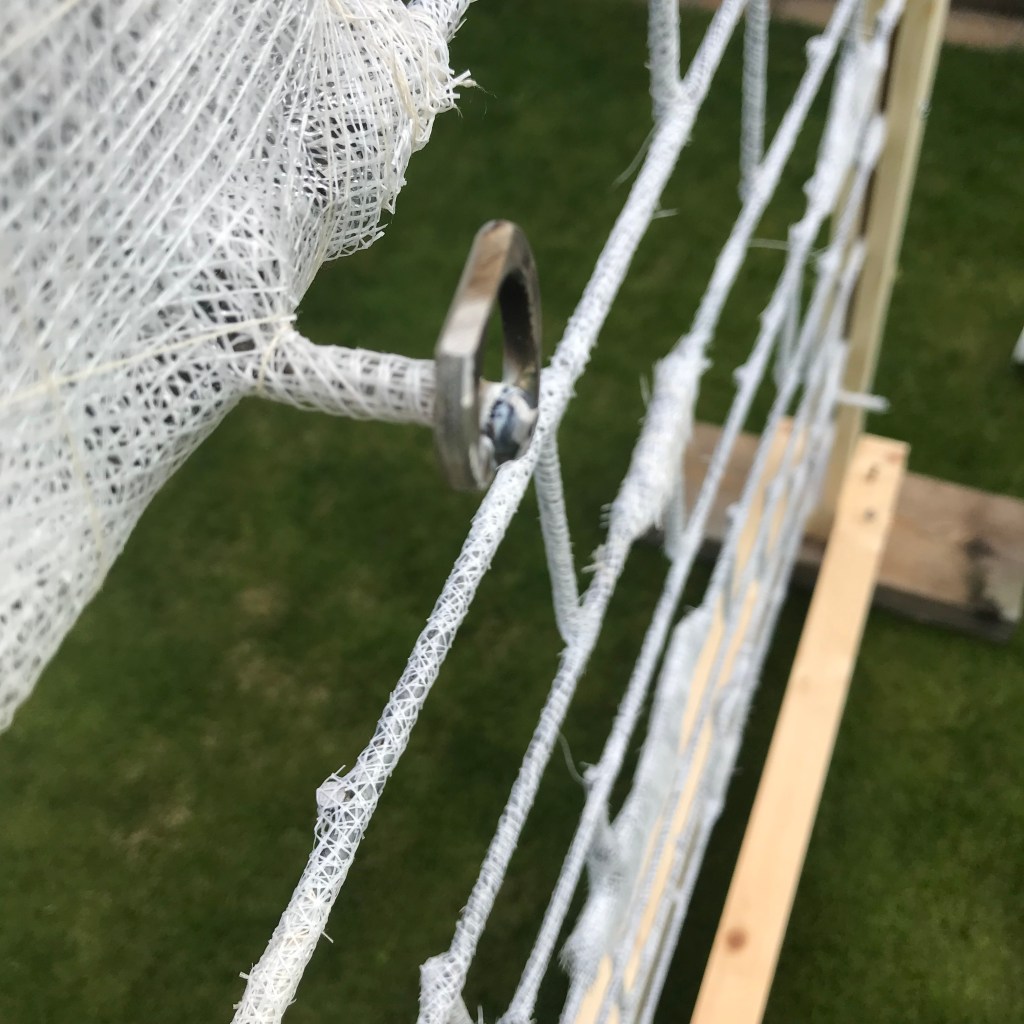
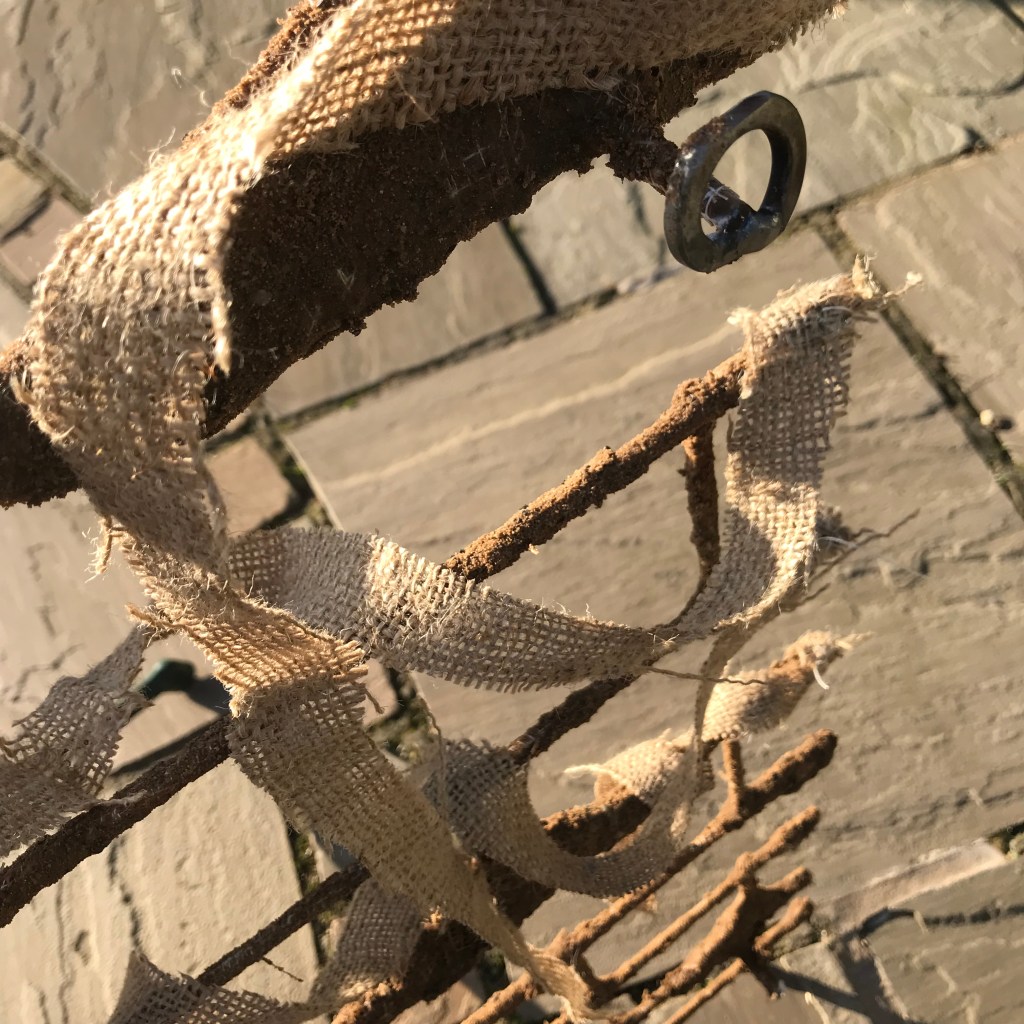
And the work had a pair of hanging rings, firmly attached.
The main problem with covering a metal frame with lime mortar is finding a way to ensure a bond between the two. Thinking this through I had the help of Simon Kershaw, architect, who is a member of the Friend’s of Waterton’s Wall group and hugely knowledgeable about stone and mortar and heritage building techniques. I had used a metal grid in a similar way with plaster in my 2019 exhibition so the solution we found for my wall was a development of what I had done then.

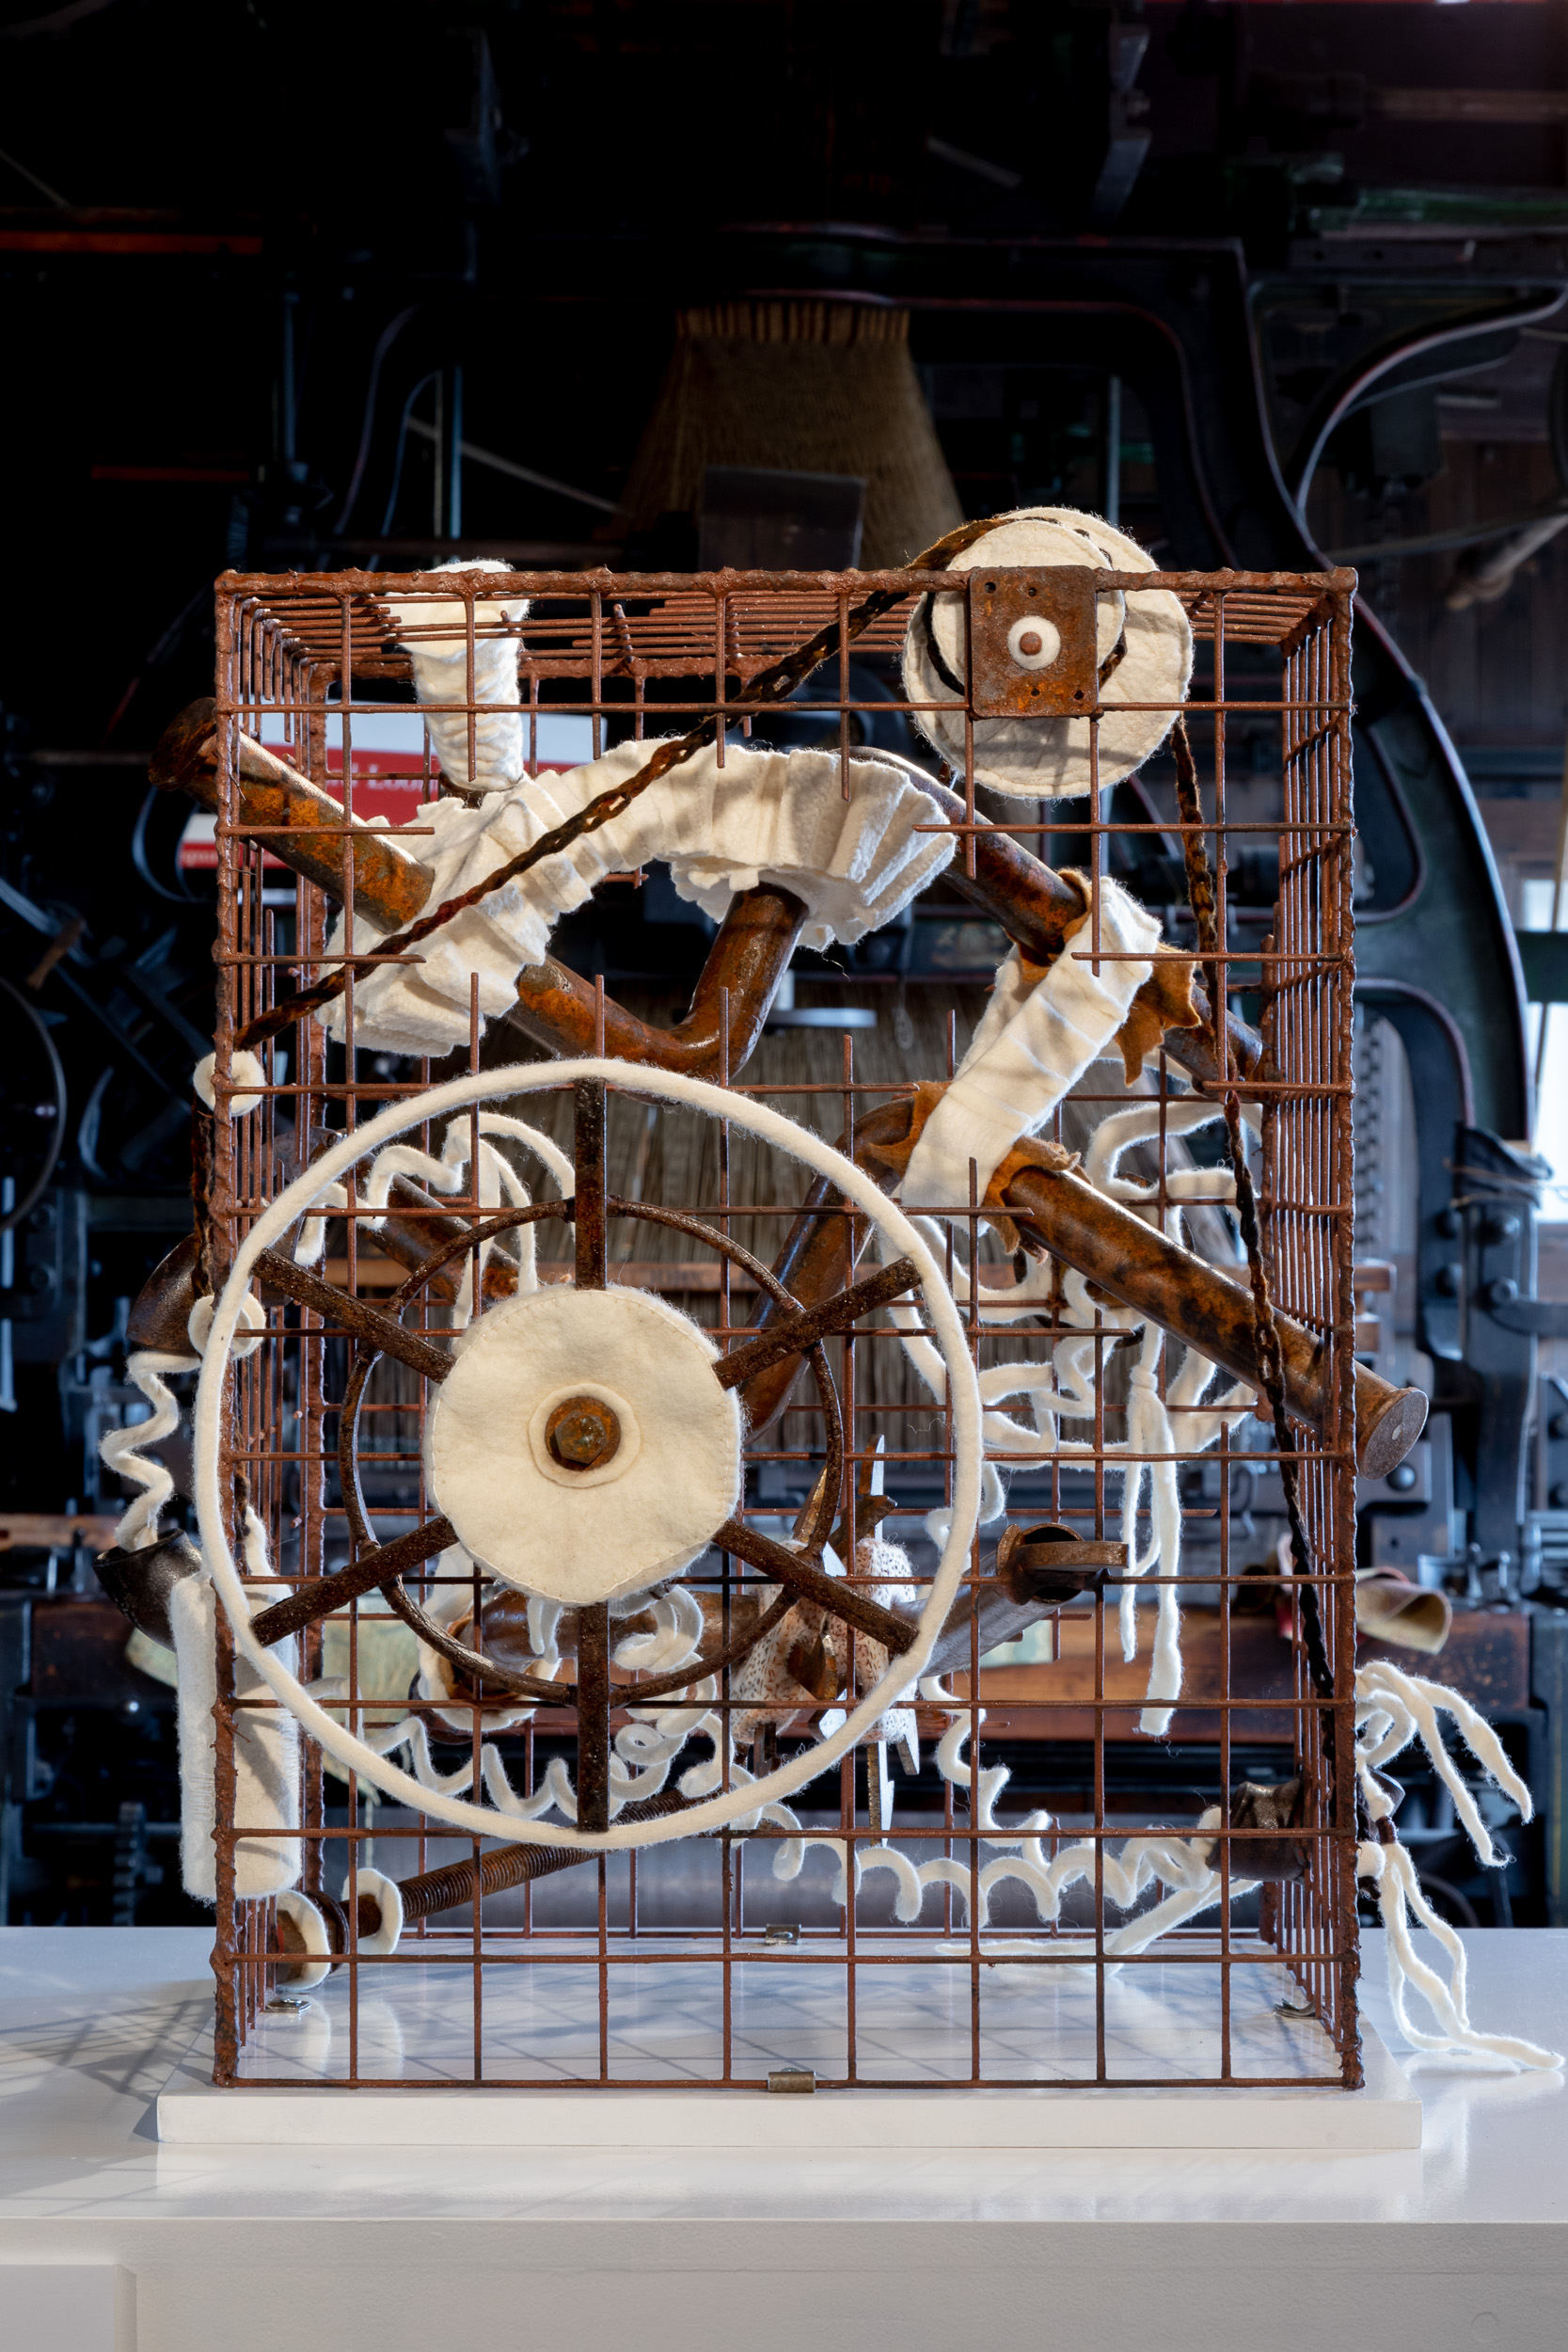
Headstock The Doffer and the Fancy: Reimagining the Machine Leeds Industrial Museum 2019
The first step was to wrap the whole frame in plasterer’s jointing tape. This is an open weave fabric tape which is slightly tacky so easy to adhere to the metal rods and to itself. You can see it on the hanging ring photograph above. Then I coated this with PVA glue and sharp sand which would give the structure a tooth for the mortar to attach to. The weather in August was exceptionally hot so I was happy to have the excuse to work in the garden.
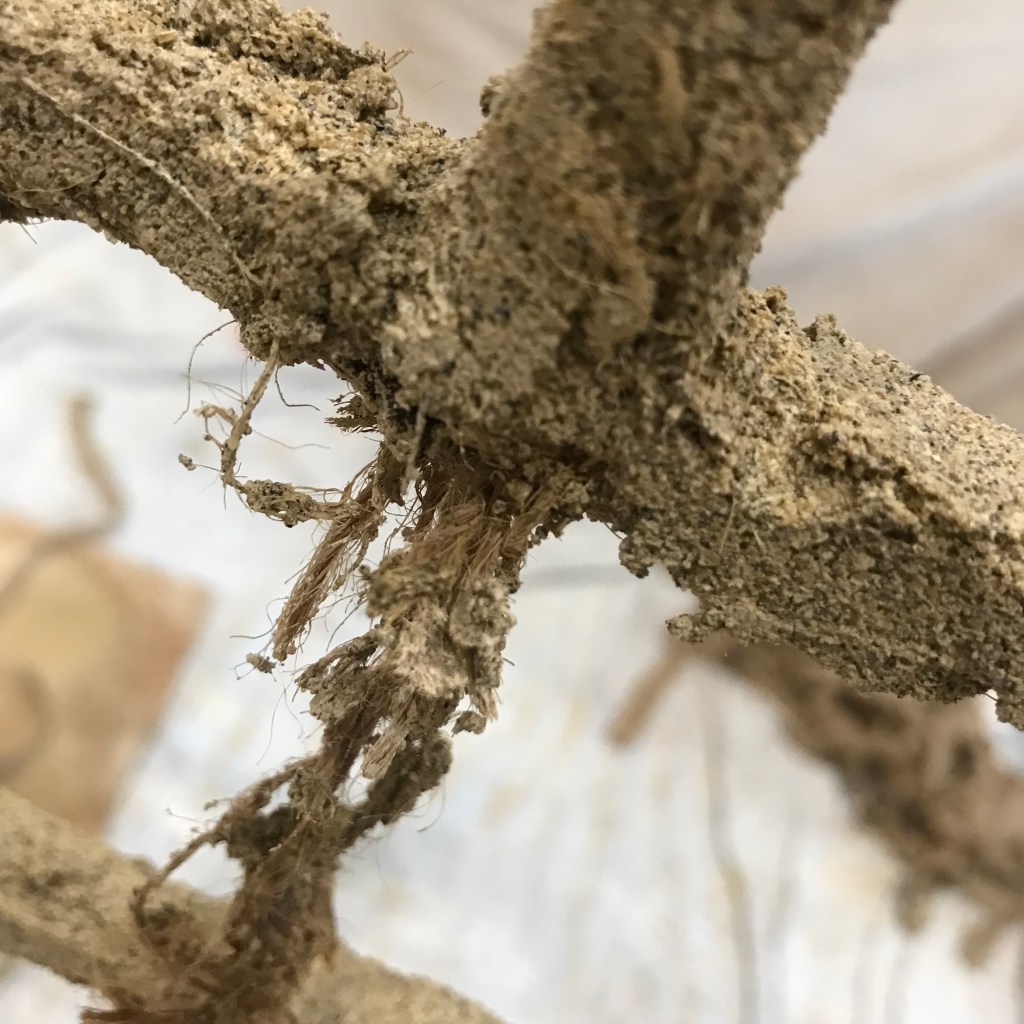
The next problem was to find a support structure within the mortar. I was not proposing to press the mortar into gaps between stones as a mason does when pointing a wall – my mortar needed to hold its form without stones around it. Hessian to the rescue – lots and lots of strips of hessian!
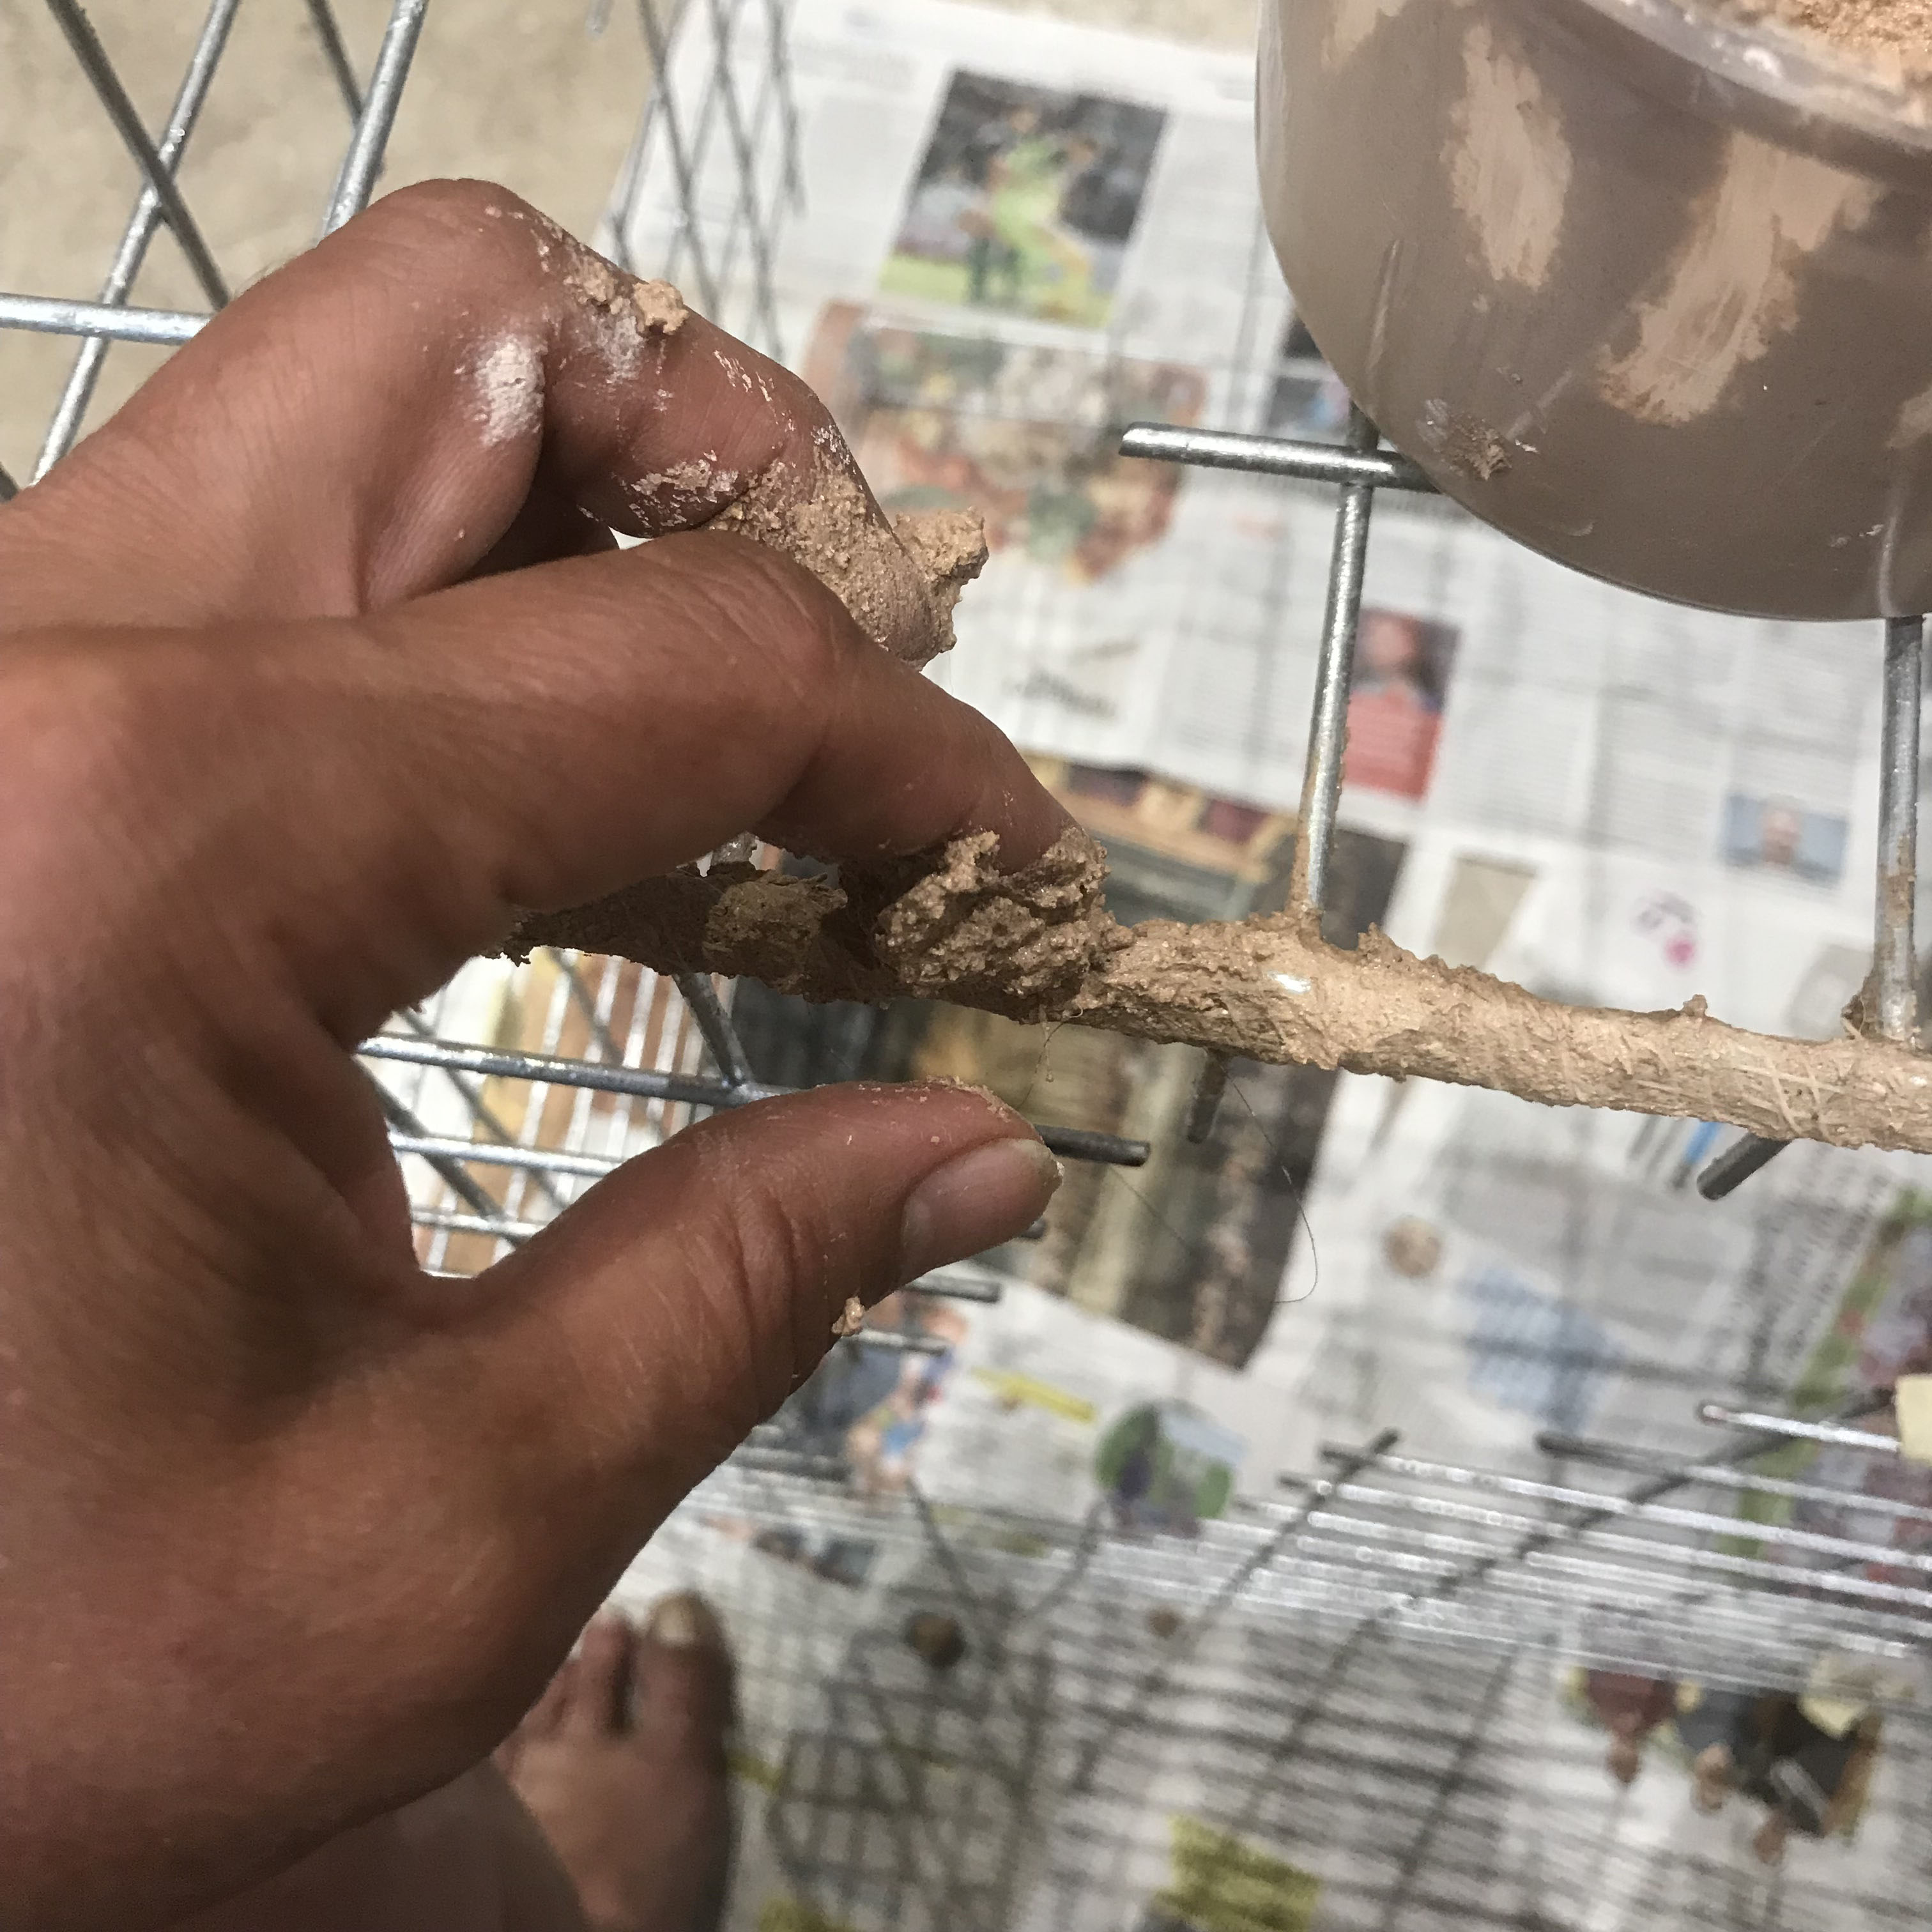
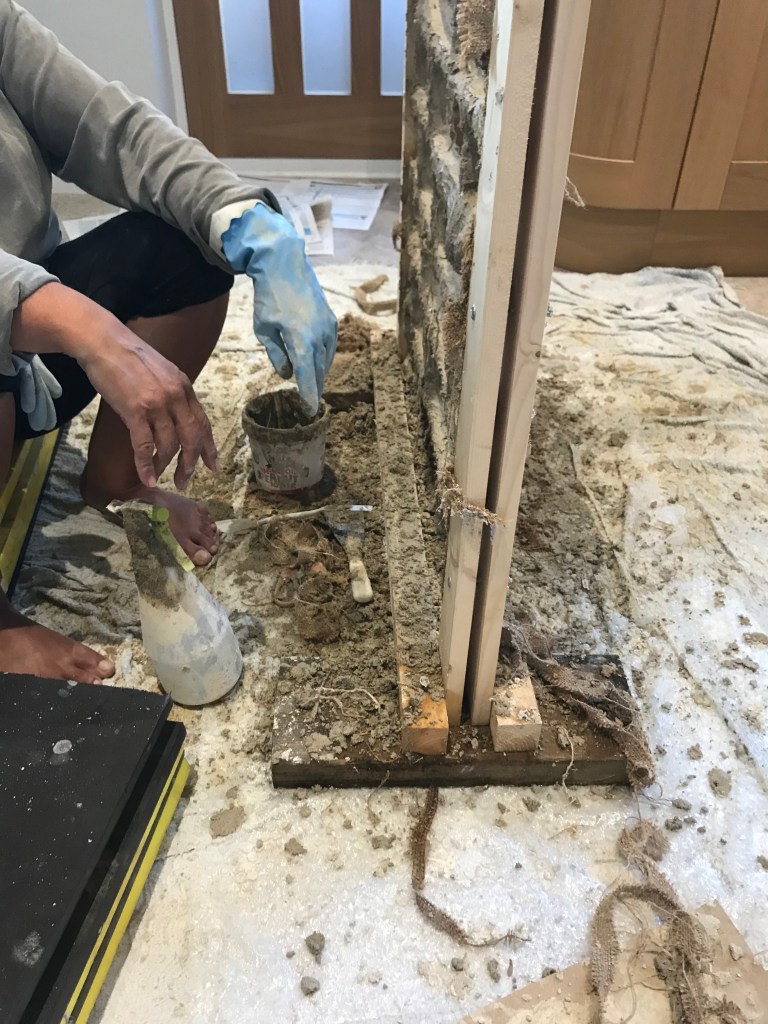
Following Simon’s advice, bit by bit, I coated a small section of the frame in a layer of mortar, then bound this tightly with hessian, then smeared another layer of mortar on the top pressing it into the weave of the hessian. Then I moved on to the next section.
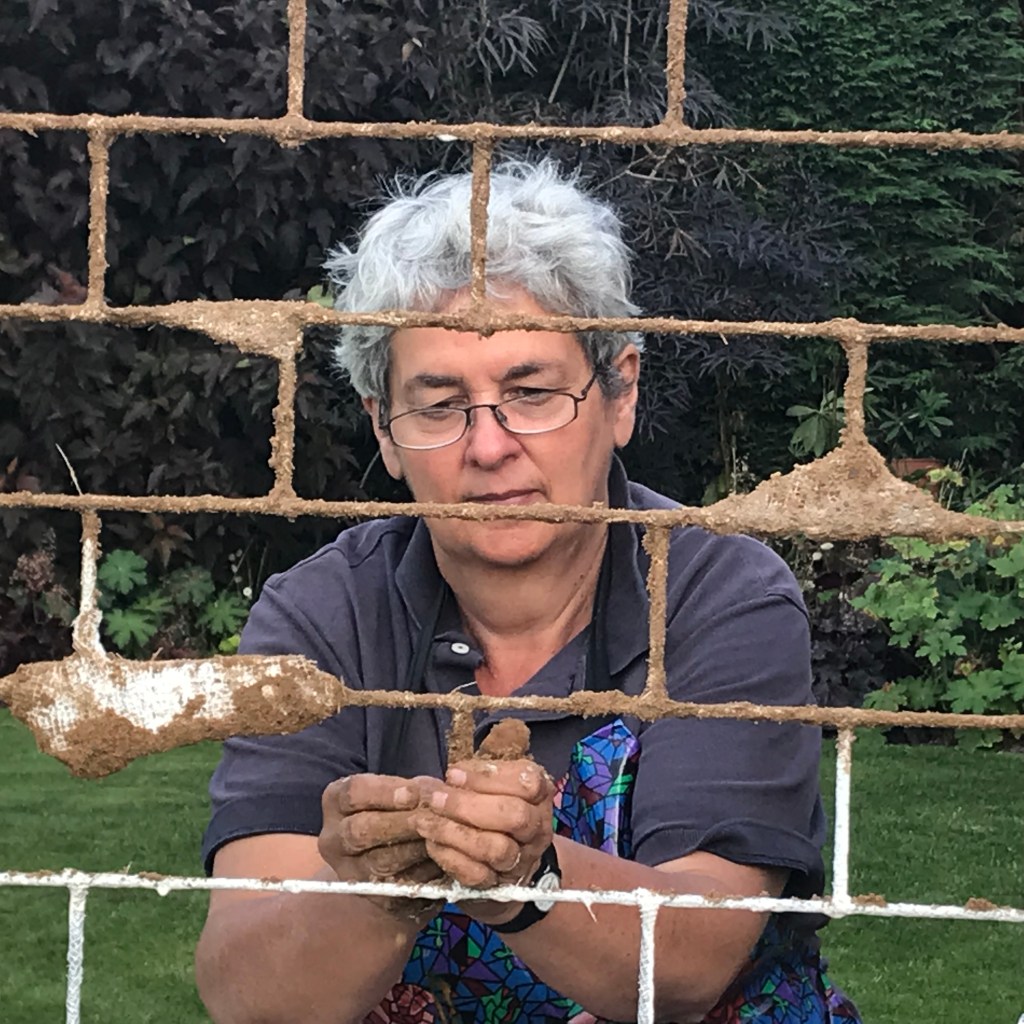
This first coat took 12 hours. I started off in the garden but as the temperatures rose I realised that I needed the ‘relative’ cool of inside. The kitchen was hastily converted into a construction site. At least there was no wind and no need to keep moving to escape the sun.
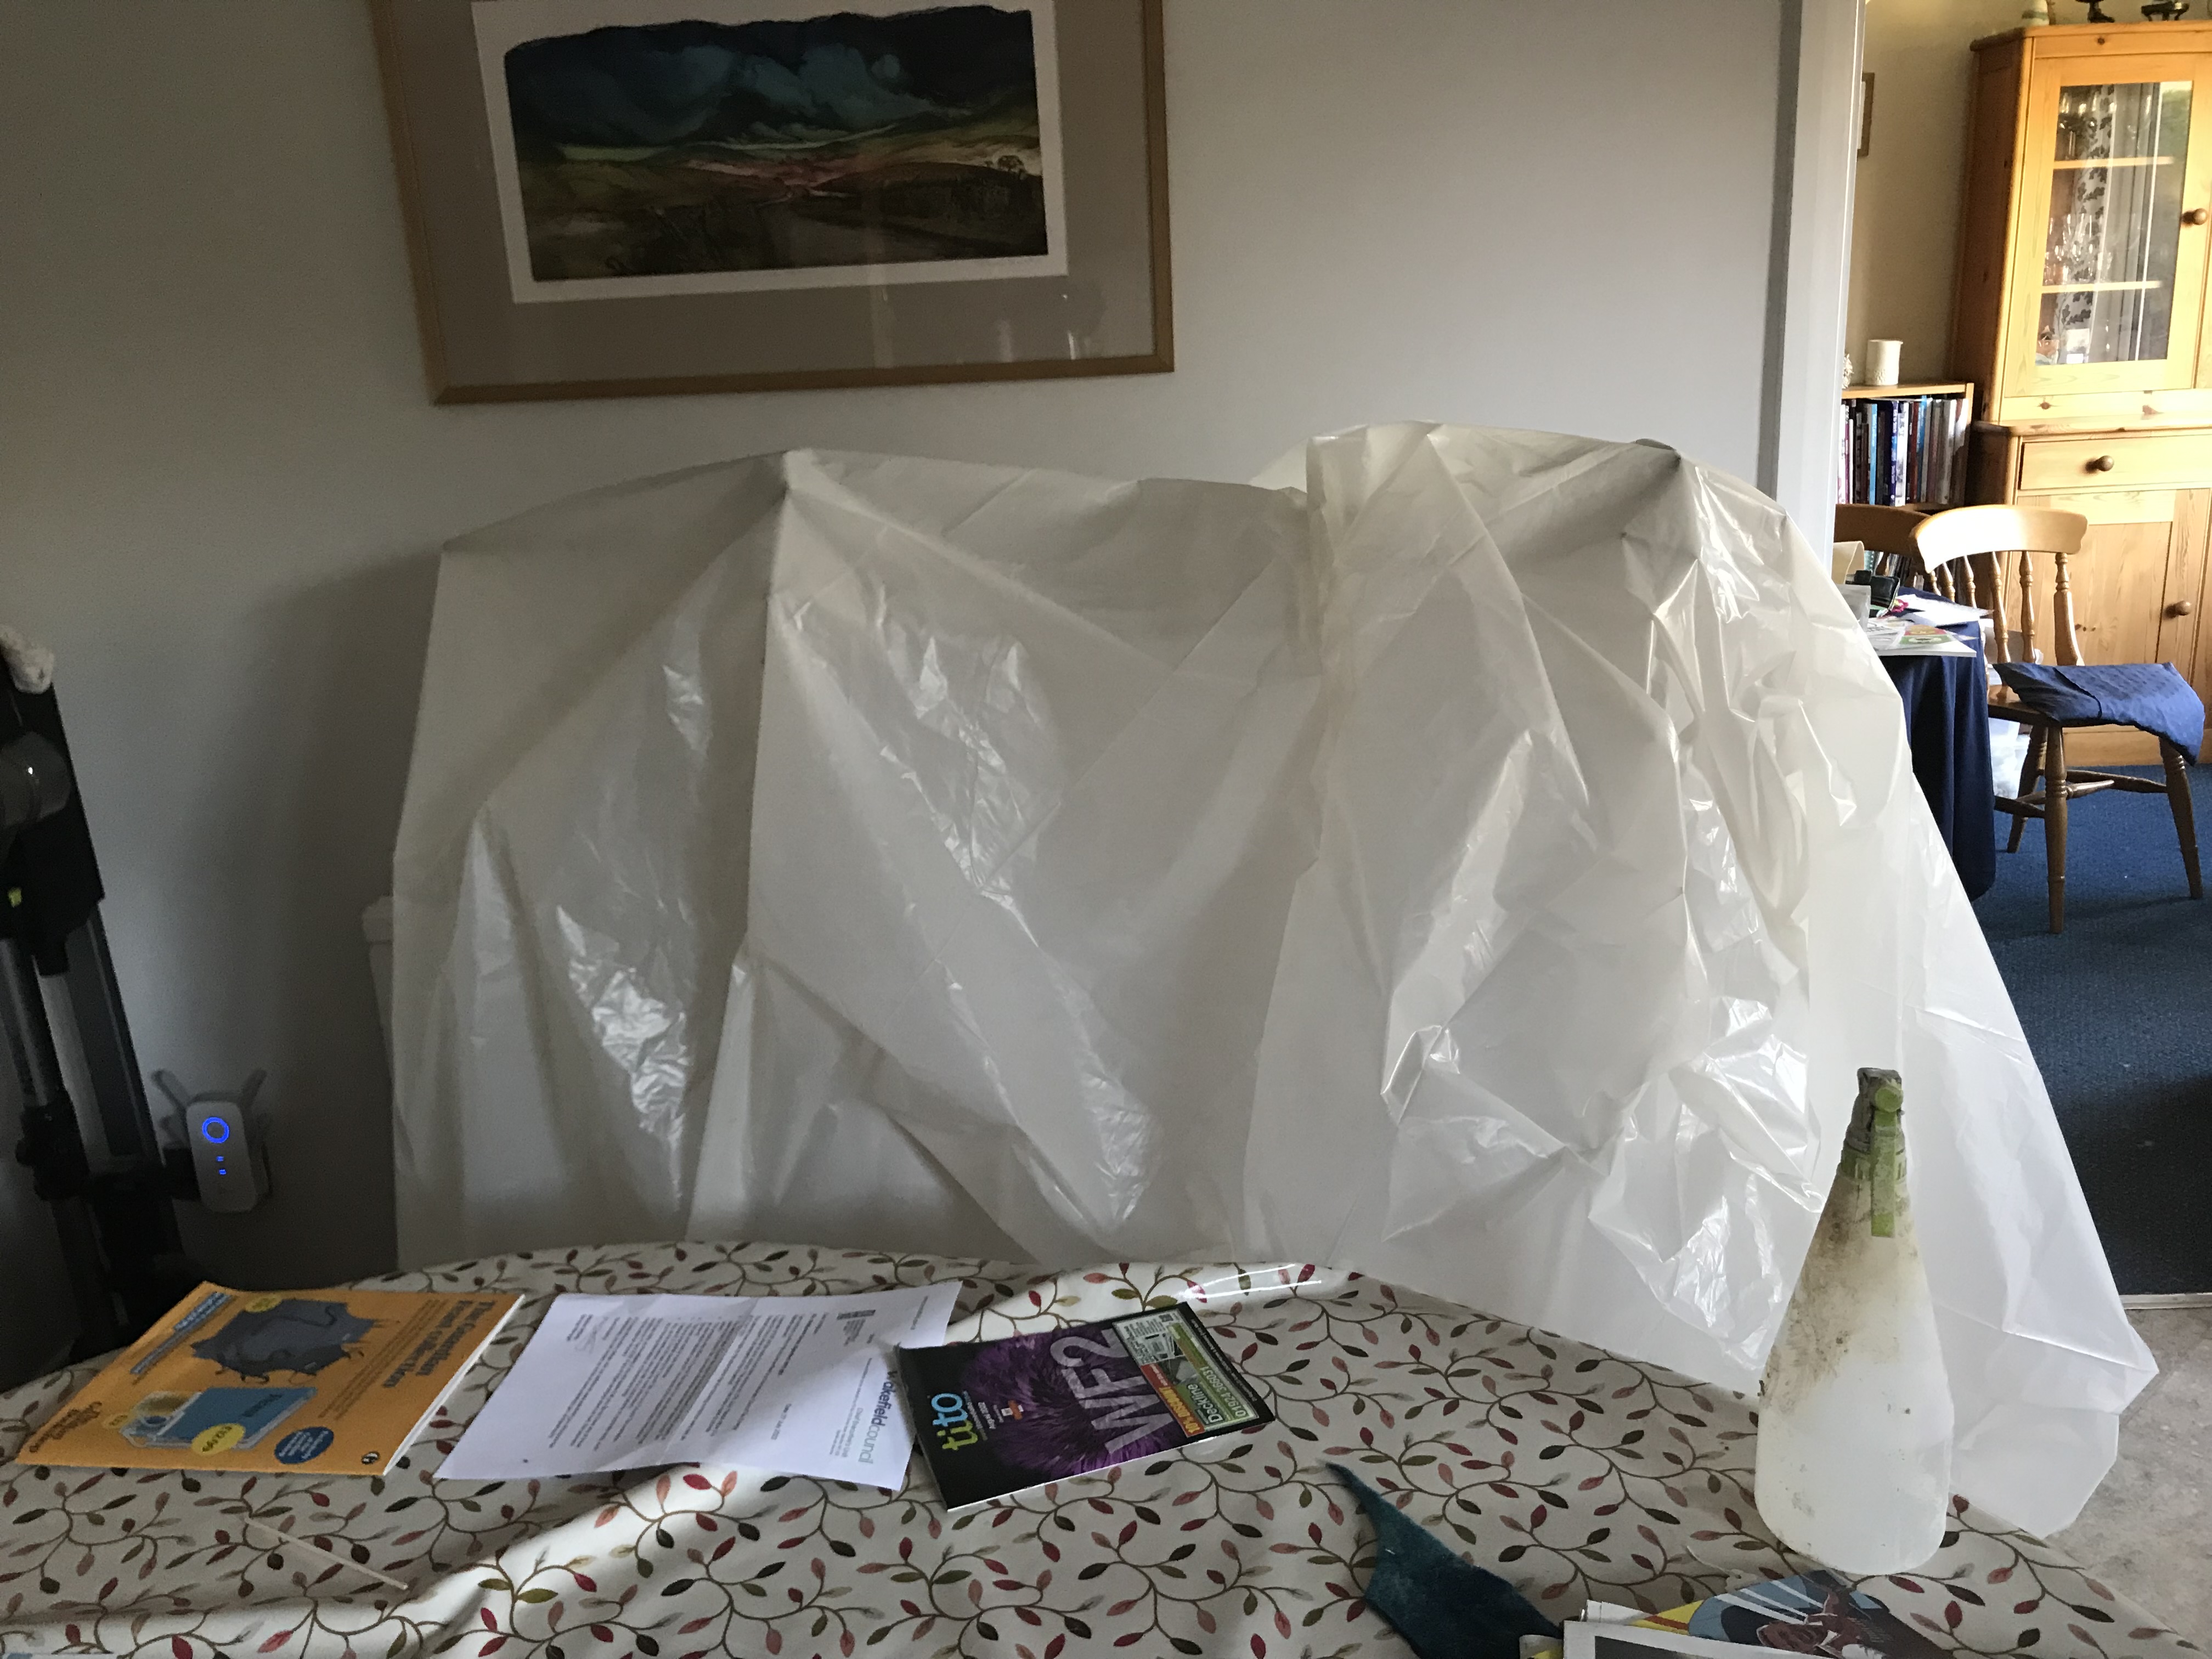
Mortar has to be kept damp for 4-5 days once it has been applied in order to enable curing to take place. So it remained in the kitchen, draped in a tarpaulin which allowed in air but kept things moist and 4 or 5 times a day I sprayed it with water. It felt a little like having a new baby who needed frequent attention! We got used to moving carefully around it.
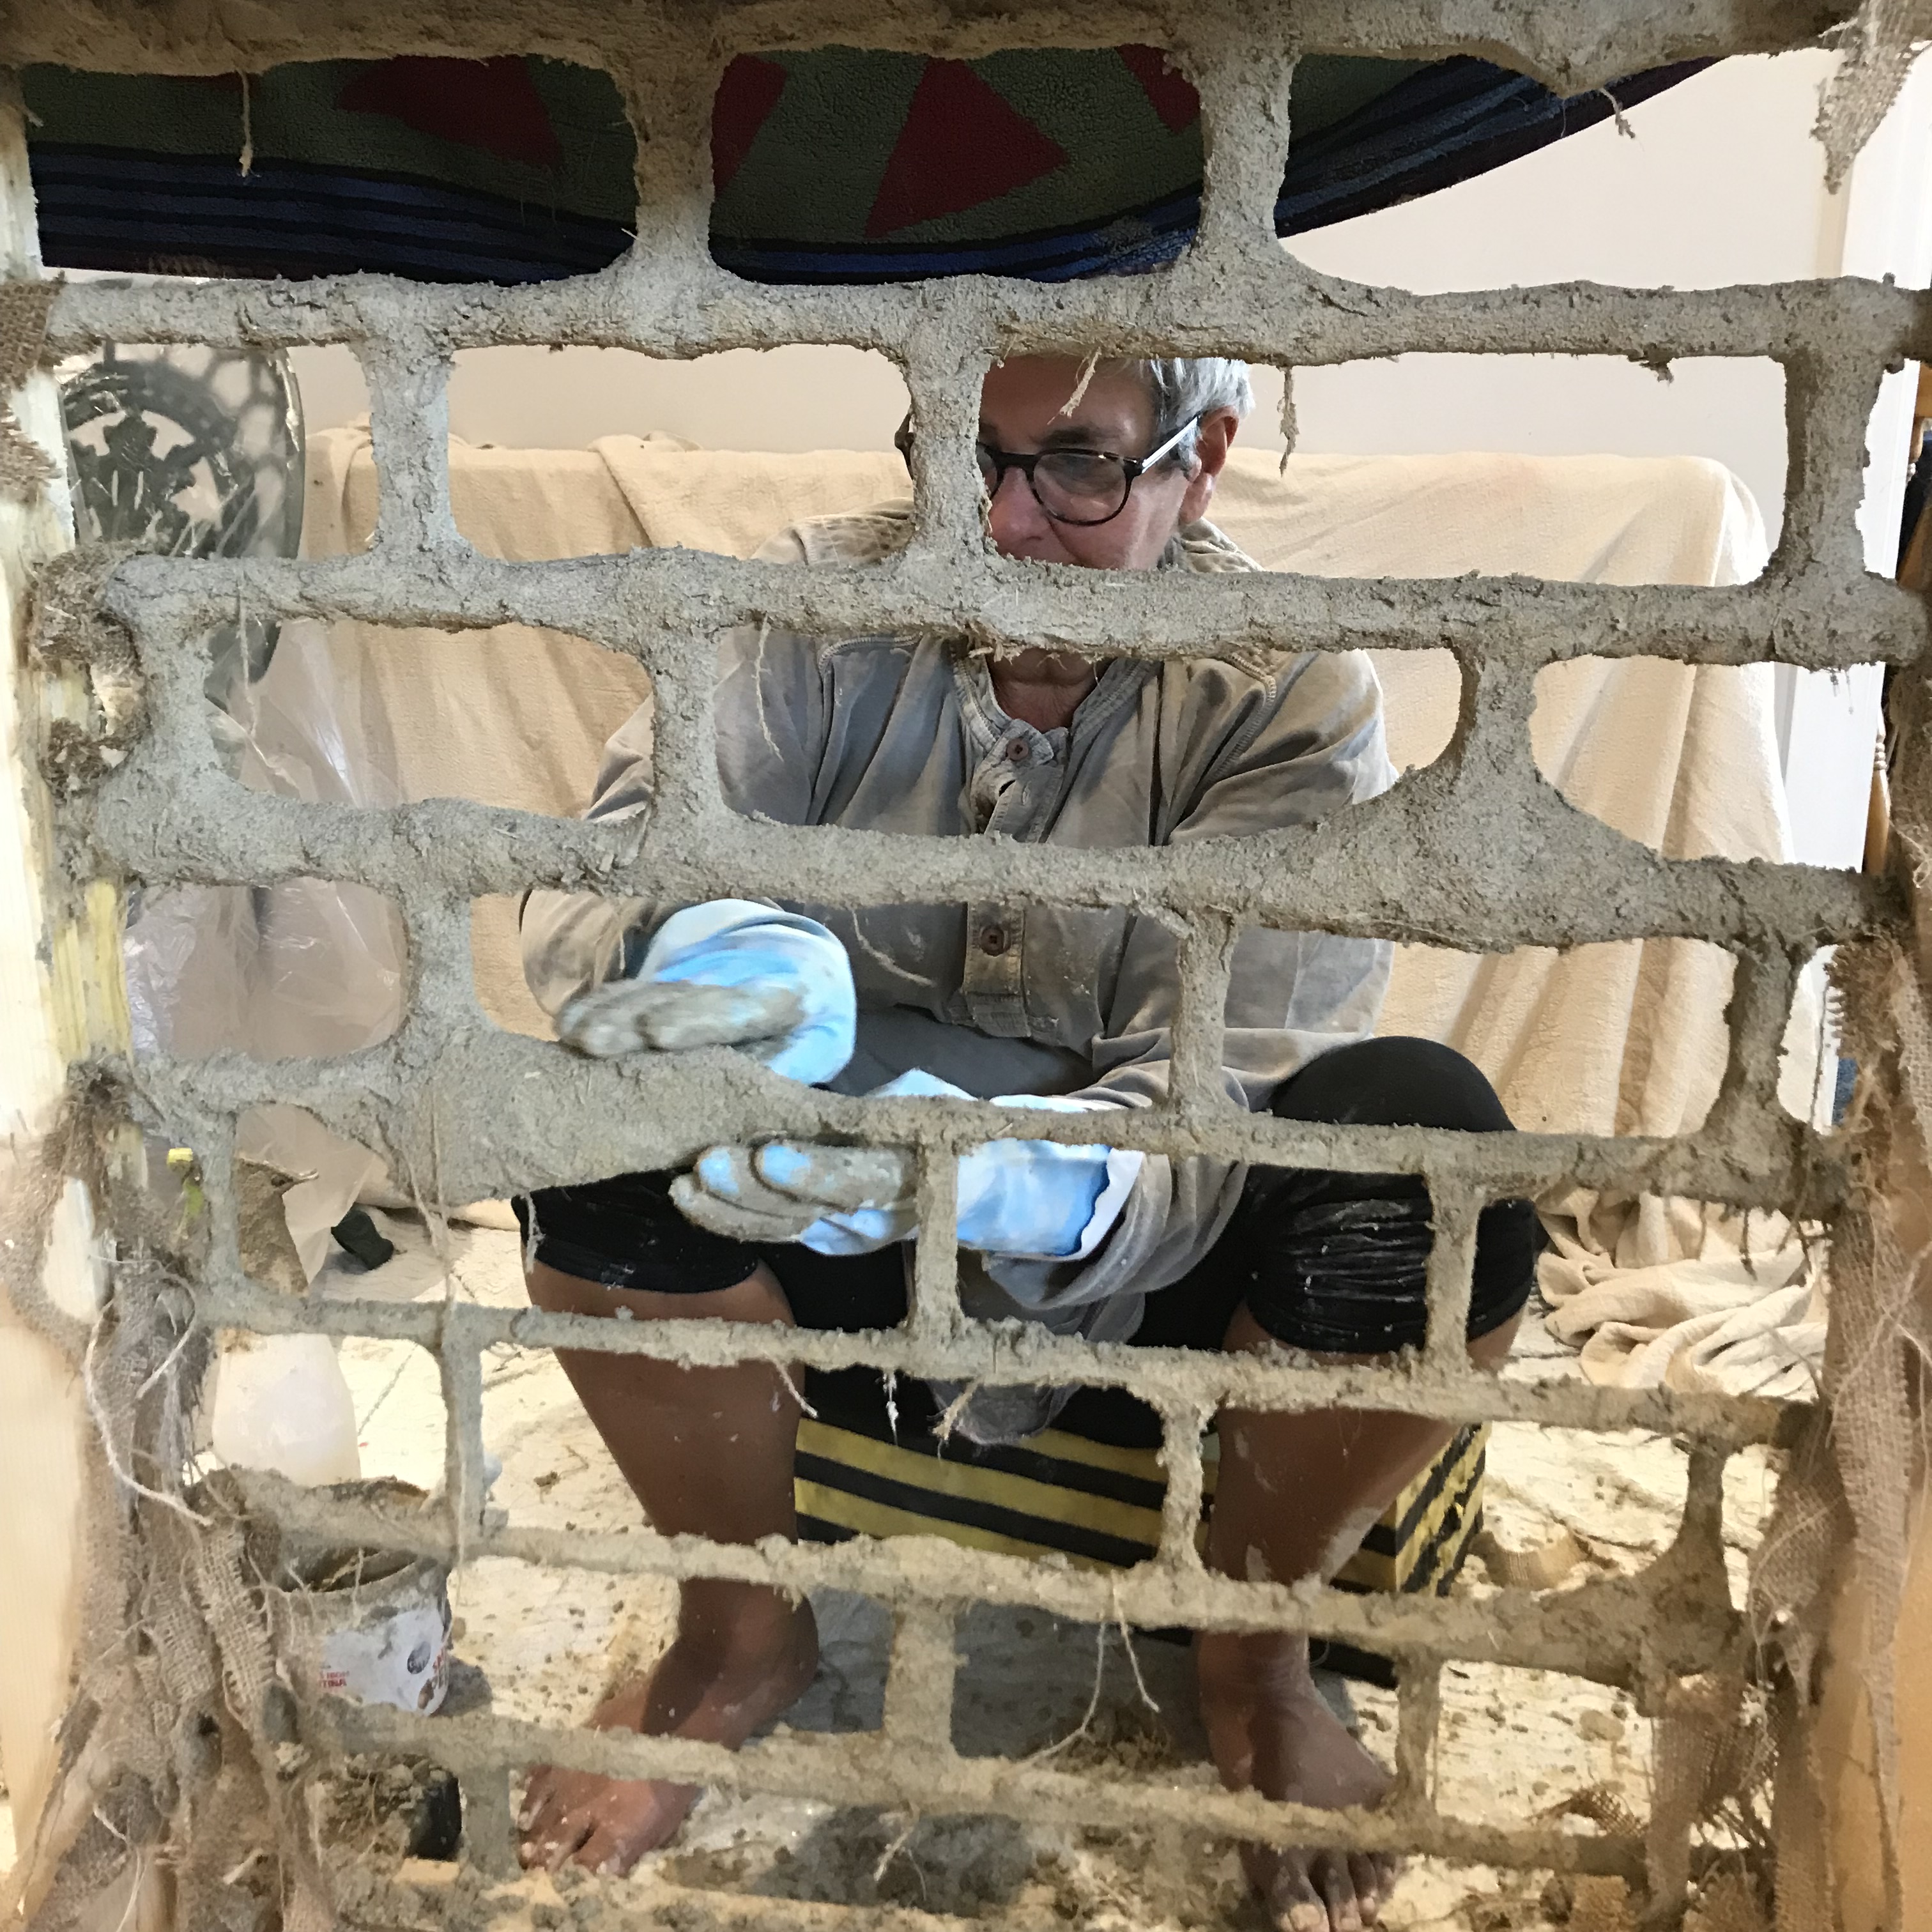

5 days later and another 12 hour shift adding the second coat in the same way, coinciding, unfortunately, with another wave of exceptionally high temperatures.
After another period of 5 days of misting and curing, the wall could eventually come out of its frame and we happily got our kitchen back!
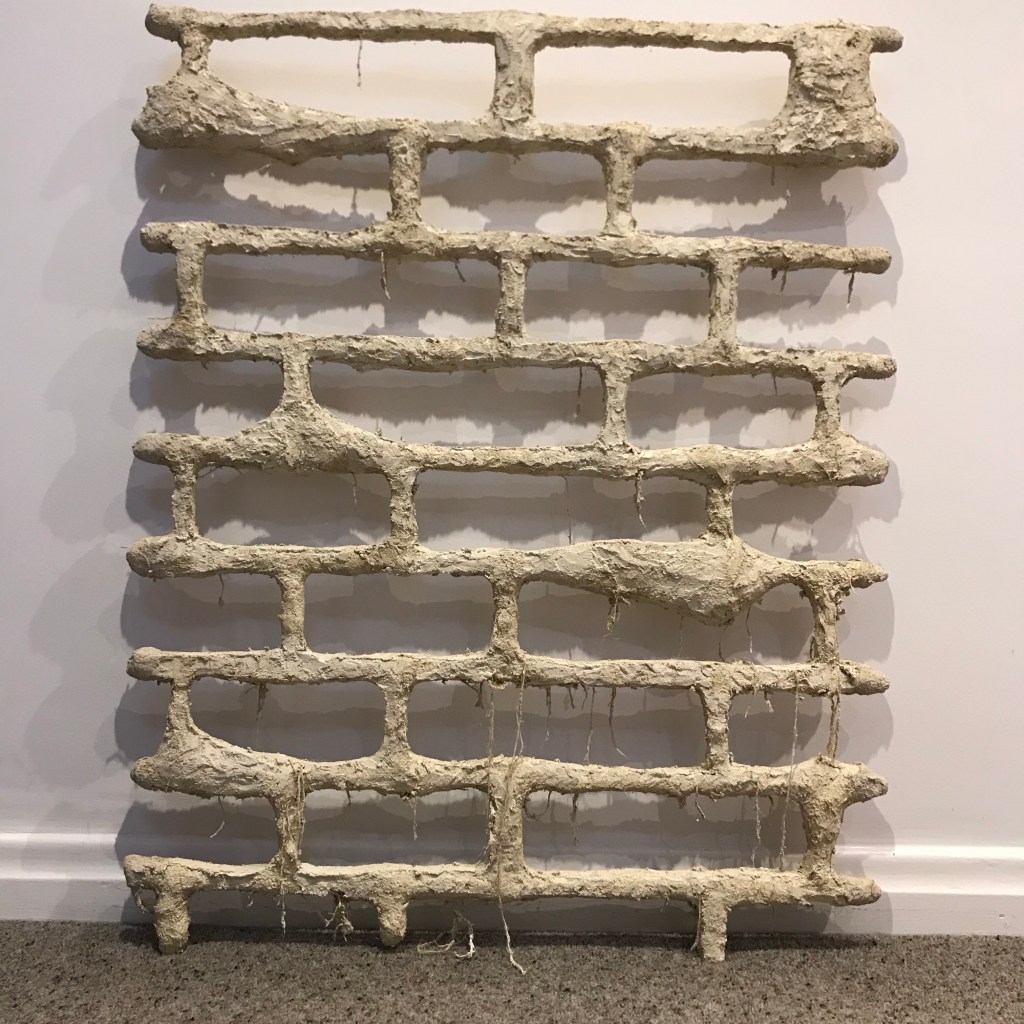
The finished frame weighed 20 kilos which gave me some sleepless nights as I knew the upper limit for the hanging system was 25 kilos. I was also amazed by how much flex there was within the panel and expected the mortar to start cracking and crumbling every time I had to move the frame. One of the glories of this material is that it has a reasonable tolerance for movement – a strange elasticity for something so seemingly hard and robust.
Next time: creating the ivy
